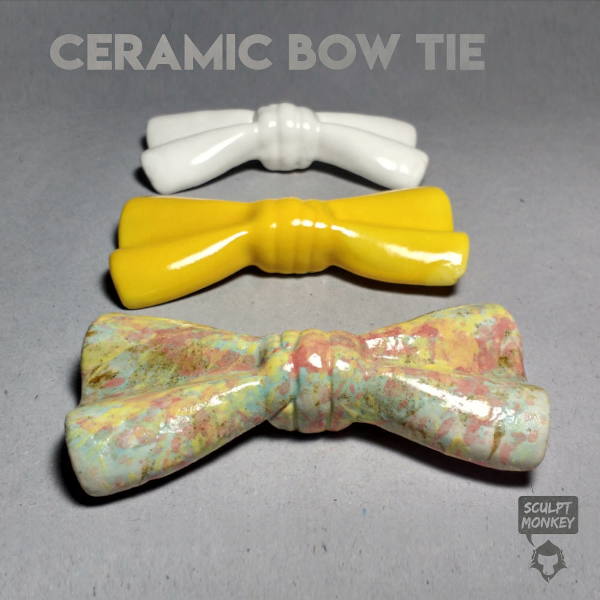
Ceramic bow ties have been a fashion for a while. Unlike a cloth bow tie, a ceramic bow tie would shine and sparkle in the light. Imagine yourself going to a party or a ball with a glistening bow tie! There’s only so much colour a cloth bow tie can give out, even a silk bow tie!
So when I was approached by a client to make some, I was enchanted by the idea. A ceramic representation of a bow tie that was practical and useable!

Right at the start some challenges stood out: it had to be light, it should be glossy and have a nice colour! In this blog post I hope to show you the making of ceramic bow ties.
Now when a sculpture is made, to reduce weight some hollowing is normally done. But bow ties are very small! How could you split it and hollow it out? That’s when it was decided that the sculpt of the bow tie would have to be replicated by using slip casting.
Here’s a brief idea about slip casting from Wikipedia
In a solid cast mould, ceramic objects such as handles and plates are surrounded by plaster on all sides with a reservoir for slip, and are removed when the solid piece is held within. For a hollow cast mould, for objects such as vases and cups, once the plaster has absorbed most of the liquid from the outside layer of clay the remaining slip is poured off for later use. After a period for further absorption of water, the cast piece is removed from the mould once it is leather-hard, that is, firm enough to handle without losing its shape. It is then “fettled” (trimmed neatly) and allowed to dry out further, usually overnight or for several hours. This produces a greenware piece which is then ready to be decorated, glazed and fired in a kiln.
The technique is demonstrated in this wonderful Instructables page.
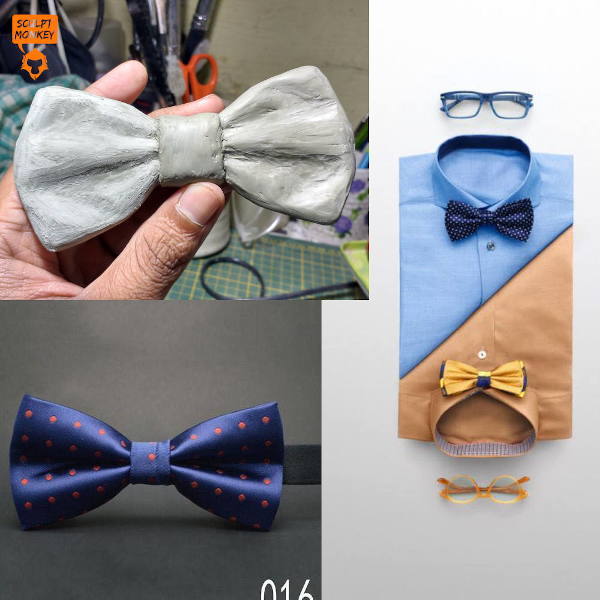
With the technique in mind, the bow tie could be sculpted and then taken on to plaster mold making. I took a few reference images off the internet and decided on the design and size of a bow tie.


At once we figured out that the weight was going to be an issue! Although the form was coming out nicely and a lot of fold and wrinkle details could be put in, it would still be bulky! The form has a bulky centre and two leaves. Pouring out undried slip properly would be difficult in production and there was no way to reach an ideal weight every time.
So I went back to the drawing board again and though of making a thin sheet without armature as in the first attempt. Adding details to the thin piece wouldn’t weigh down as much.
For this attempt I made a rectangular block of plaster and marked out the measurements according to the new design. Only the top part was carved out and sanded. This way the thin sheet would capture the flow of a regular bow tie. Since oil based clay was the sculpting medium it was very easy to roll out a sheet and use heat to shape it over the former. Once off the former a simple hair dryer was used to add in more bending to simulate cloth!


In pursuit of keeping things light the bow tie ended up looking like one only from the front and the knot at the center looked more like a block! And so the third attempt started, mostly fleshing out the form and adding depth. You can see the steps in the images below.


The mold was made in two halves with a pour spout to allow slip to flow through! We started to experiment with terracotta, stoneware, white bodies and even managed to get porcelain!


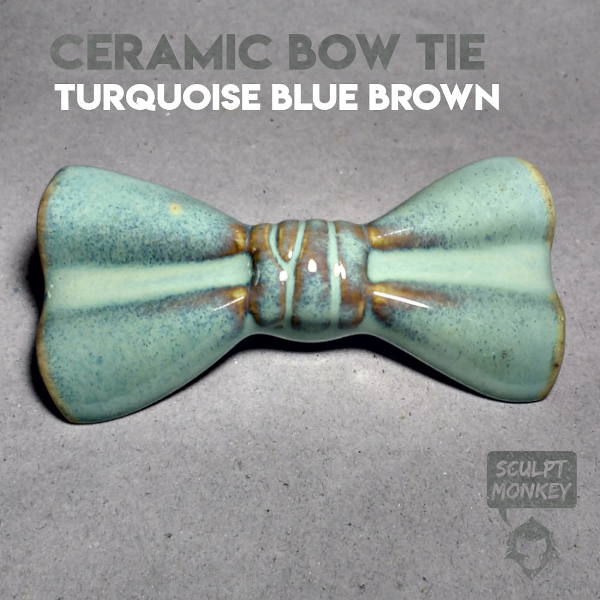
Each slip body takes on different glazes and can produce different colours and textures! The talented people at Claystation took over right from the slip casting stage all the way to glaze testing and final firing! Each piece had to be trimmed and sanded down to make it light. A total of 4 hours per piece after casting! That helped in inspecting for defects too!
You can follow the wonderful people at Claystation on instagram too! I’d like to thank Afroz, Anupama, Mahima and Anubha for all their work and advice in this project
HERE ARE SOME OF THE OTHER VARIETIES THAT WE MADE!


If you would like to learn to sculpt or have a custom sculpture made for you, then please do reach out to me! Please do share this with others or on social media. It might help someone!
If you haven’t, now is a good time to subscribe to the newsletter! I will be posting class schedules, some tips and tricks, gallery showings and other things that won’t be on social media! I promise not to spam! Take a look at some of the past newsletters!
