In this post we are going to talk about the sculpting medium: Polymer Clay. In the last post, we talked about using natural clays to express your creative ideas. If you haven’t read that, please click here. This blog series is help to you choose a sculpting medium and make something creative! There are other mediums in this series!
The ability to express one’s ideas creatively is something that man has done from time immemorial. These days, with all our usual distractions of technology, education, work and news, we seem to have forgotten this vital part of our nature. Polymer clays are readily available these days. They come in a variety of colours too! It’s very easy to use and you don’t even need a studio!
On that note, let’s dive in!
POLYMER CLAYS

Polymer clays are made of some sort of plastic polymer that hardens when heated in an oven. I know that it is not the best explanation, but let’s move forward. These clays don’t bake well in microwave ovens. The baking temperature varies according to the manufacturer, just look at the box they come in. I find that, as a sculpting medium, polymer clay is the easiest choice for hobbyists! I am not referring to air-dry clays that are sold as polymer clays. Those have a limited working time and extra pressure for beginners.
There are many tutorials available online on how to make anything from small pendants, miniature cakes, rainbows, fairies, to statues, action figure and much more. I am not trying to put all of those tutorials in this post. You can make anything from a cartoony character to a highly detailed character with this medium. These clays are firmer compared to terracotta and thus make it difficult to make large sculptures.
Some polymer clays like Super Sculpey, Living doll, FIMO, etc., can be used to sculpt highly detailed sculptures. This is the sculpting medium of choice that I prefer to use when making a single piece for a customer. I make one-of-a-kind (OOAK) sculptures with Super Sculpey. These clays can be baked and sanded. Cosclay is a special type of polymer clay that can withstand some degree of bending even after baking!
“Do not keep unbaked polymer clay on any paper or wood surface! These can leech out the plasticizer from your clay.”
If your clay is cracking, then you can use a plasticizer from the manufacturer. Super Sculpey has a small bottle that can help. You could also add in some petroleum jelly and mash up the clay nicely. There are many other techniques that people use to condition the clay.
TOOLS


Polymer clay is generally used for making small statues. With a smaller size comes the need for smaller tools as our fingers will be too big. I do not recommend that you buy tools right away. You could make your own tools out of wood, plastic spoons, paint brushes stems, wooden dowels, old pens, guitar strings, etc.
When looking for polymer tools online you will find a lot of tools that aren’t useful. There are no sets that come in handy. I mostly work with maybe 4 or 5 tools. The rest that I have are only for specific needs that I have figured out over time. If you’d like to have durable tools, then visit a dental supplies store. Just buy any shape of tool that would suit you. There are some made in plastic, mild steel and some even with surgical steel. With surgical steel, the costs go up. Buy this only if you think that the shape is useful!

In terms of making your own tools, wooden dowels are a good starting point. You can sand them any way you need them to be. As with any sculpting, you will need a way to carve out clay at some places. I use modified old ball point pens for these. I cut off the nibs and seal it up with 2-part epoxy glue. Before it can dry, I put in a loop of guitar wire. Once that sets, I have an ergonomic loop tool. I use single gauge guitar strings and the coiled guitar strings of a bass guitar too. With coiled strings, I can rake the surface even. I have a few small boxes filled with tools that I have scrounged from different things or that I have made!

Loop Tools – customized ones on the left
One tool that you cannot make and that you must buy are “Ball Stylus” tools. The ones that are available at cake supply shops are quite big. You can get some as small as the nib of a ball point pen! Do check the size before buying online. Silicone tipped brushes (some call them paint pushers) could also be used, its just an option.
ARMATURE
Polymer clays don’t have any shrinkage, compared to natural clays and therefore do not crack up while baking. An internal support armature is required to hold its shape. You will not need to remove the armature later as with sculptures made in natural clays.
“The armature should stay in the middle of your sculpture. Any appendages will need a connected armature.”
Build a frame work with metal wires and wrap or wind them up with thinner wires or floral thread wires. This will help the clay to have something to hold on to. To save up clay, you can bulk up the sculpture with aluminum foil or applying lumps of epoxy putty on your armature.

Do not use styrofoam or any other material which can melt while baking. Also, as mentioned earlier, paper and wood do not make good bulking materials as they can suck out the plasticizer.
“While bulking out the armature, always keep the volume lesser than the silhouette of the intended sculpture!”
A general rule of thumb for bulking out large areas is that they aren’t supposed to flex in the middle. For example, the ribcage, the pelvic area, the thighs, the skull without the lower jaw, etc. These areas aren’t supposed to bend!
Do not put glue/epoxy on the joints! That will become a problem later when you want to adjust or change the pose of your sculptures. If you are using 2-part epoxy to bulk up, remember to add in some dents to help you clay have a grip on it.
While making the armature, think about how you are going to display or mount the sculpture! You may need to put it on a flat base. Make sure you have a peg sticking out of the sculpture that can go into your base!


The statues had pegs that helped to fix them properly to their bases.
BLOCKING STAGE
As mentioned earlier, do not keep unbaked polymer clay on paper or wood surfaces as they can leech out the plasticizer. Polymer clays have a basic sticky quality. You can lay up clay without much of a problem. The problem arises in the limbs where there isn’t any bulking support, just a coiled wire. This can act as a cheese cutter when adding more clay on top of it. As usual, in the blocking stage, your aim is to have the rough form put in without any small details.
Once this is done, some artists prefer to partially bake the clay to make it strong, especially at the limbs. Once partially baked, apply a little petroleum jelly to the baked area and gently wipe off the excess with a tissue. Now you won’t have problems of clay slipping off the surface. Unless I find it difficult, I don’t partial bake my sculptures.
ADDING DETAILS AND FINISHING
The polymer clays mentioned in this article do not dry out when opened. These are not air-dry clays. Therefore, you don’t have to be in a hurry to get in all the details. I recommend keeping the sculpture covered to keep out dust and other fibres from sticking when you aren’t working on it. Some clays like Super Sculpey have a light colour and a slight translucency. This makes it hard to see the details. If that is a problem, mix some black Sculpey III or Super Sculpey Firm Grey.
The level of detailing depends on how patient you are! It is better to work in passes. You can keep layering and building details and textures. The ball stylus tools are very good in merging newly added pieces to the surface. That way you can hide the merge line. Remember to work all around the statue. That way you can avoid what many call “tunnel vision”. Fine details and textures are meant only for the last pass! Since they don’t dry, they can get smudged while working on another area.

Work gradually in stages, build up details in passes.
To clear up the surface and smooth out the sculpted surface, you can brush it with surgical spirit, denatured alcohol or even lighter fluids. Just make sure that you don’t have any open flame near while doing this step!
BAKING YOUR SCULPTURE
For baking, you will need a convection oven. In other words, a heating coil with a fan to circulate the hot air around the closed space. Do not go beyond the recommended temperature (it will be mentioned on the packaging). You can, however, reduce the temperature and bake it longer!
In this part of the world, we think in “Degrees Celsius”. The recommended temperature for Super Sculpey is 130 degrees celsius for 30 minutes. I reduce that to 110 degrees celsius and I bake my sculptures for 1 hour!
Once the baking is done, hold your horses! Do not open the oven!! Let it gradually cool down! I like to take the temperature down in steps. I keep atleast 30 minutes for each step. The last dial on my convection oven is 45 degrees. After that step, I unplug my oven and cover the it up, including the vents. Once it is down to room temperature, I can take the sculpture out. Taking this extra care helps prevent temperature shock cracking.
PAINTING
Polymer clays can be painted with most paints, but acrylics work better. For better results, use a primer before painting. There are many primers available in the market. Each paint has it own kind of primer.

Primers for different kinds of paints.
If you have the means you can use an airbrush to apply an even and thin coat. That way you don’t have to deal with paint peeling off. You can use paint brushes, sponges or any method to apply paint.
Just like when you were sculpting, it is better to paint in passes or layers. You can mix up the shades. No one has a uniform coloured skin all over their body. There are light and dark areas too.
Once done, you can seal the paint in with a sealant. There are matte and clear glossy sealants. Test your sealants on another piece first. Think about the texture of your sculpture before using a sealant. Most sculpted cloth and skin areas would need a matte (clear flat) sealant. The eyes, however, would need glossiness. Even a glossy spray can’t help, even with masking out the unwanted areas. For this situation, you can use clear nail polish or transparent glue. Do not use super glue as it will become frosty once it dries out!

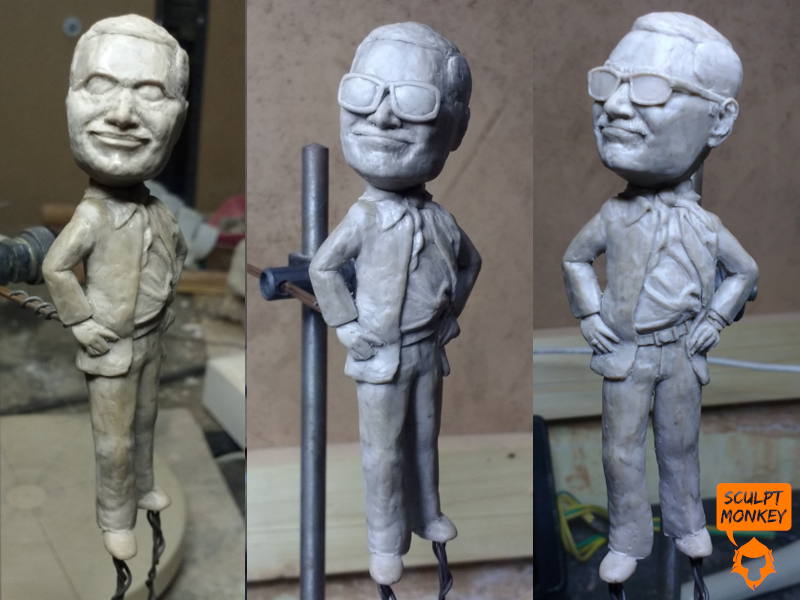
Here are some pieces that I have sculpted in Super Sculpey polymer clay:


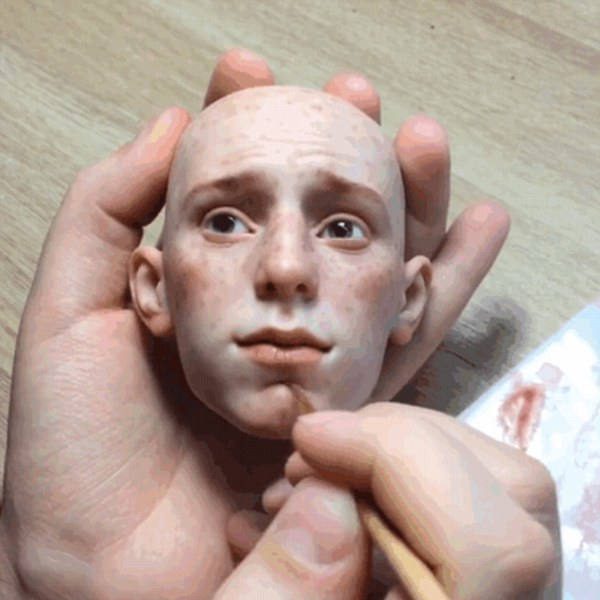
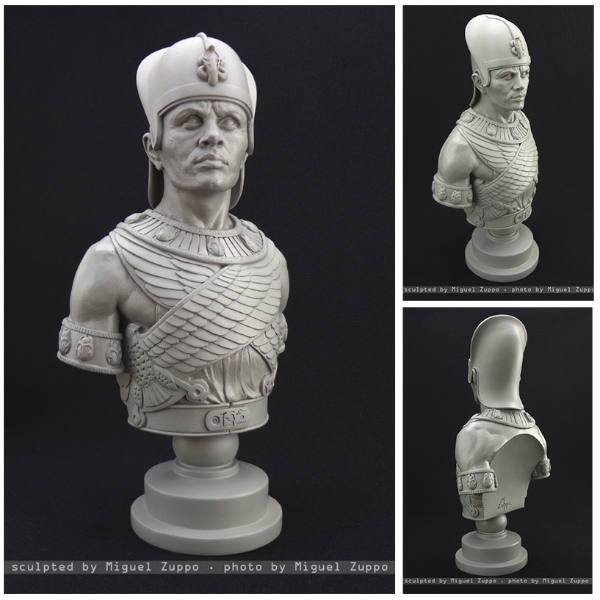
There are many professionals who use this clay for prototyping toys and characters in animated cartoons! It helps to be able to figure out the characters and their accessories before going in to animation or toy manufacturing. Here are some incredibly talented sculptors in this medium (just a few of them):
For those who are starting out, I would highly recommend trying polymer clays. It is also easy to make small figurine from the comfort of your home. There is almost no mess to clean up after! I wouldn’t recommend keeping these sculptures out in the sun for display. Sculptures made with natural clays can withstand the sun and the elements.
I hope that this has helped you to try and express your creativity. Go on and order up some clay and sculpt in your free time! Your imagination is your only limit. If you can think it, you can find a way to make it!
In the next blog post, I’ll be writing about Epoxy based clays! Until then, enjoy the creative process!
If you would like to learn to sculpt or have a custom sculpture made for you, then please do reach out to me! Please do share this with others or on social media. It might help someone!
If you haven’t, now is a good time to subscribe to the newsletter! I will be posting class schedules, some tips and tricks, gallery showings and other things that won’t be on social media! I promise not to spam! Take a look at some of the past newsletters!


