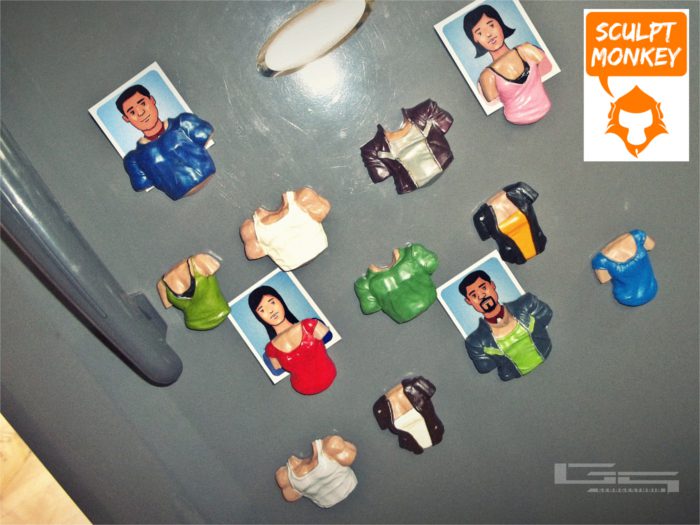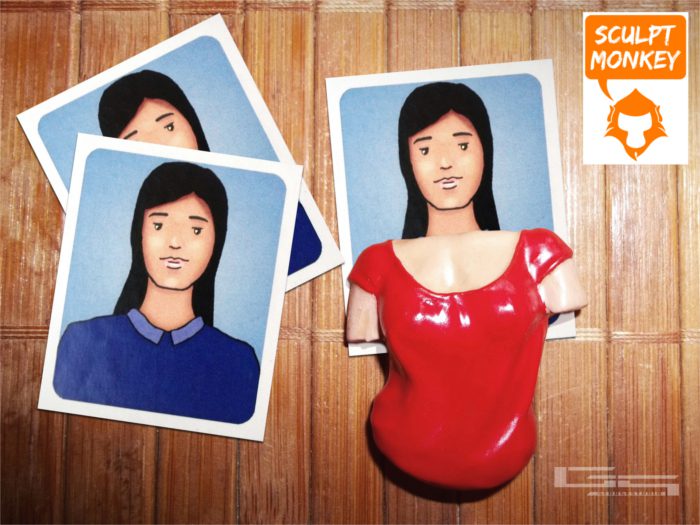
The making of Body Swapper Fridge Magnets came from looking at all the passport sized photos that were lying around. There are only a few times when we get to use these pictures: for a job interview, passport application, government application forms, etc. Until then, these photos just lie around, some of them end up sticking to the insides of our wallets.
Every country has rules about size of the photograph and how large the face has to be. In India the face has to be around 55% to 60% of the photograph. Now if you have learnt how to draw the human figure that you would have come across the concept that the human body can measured in proportions of the length of the head. There is an ideal size for men and women.
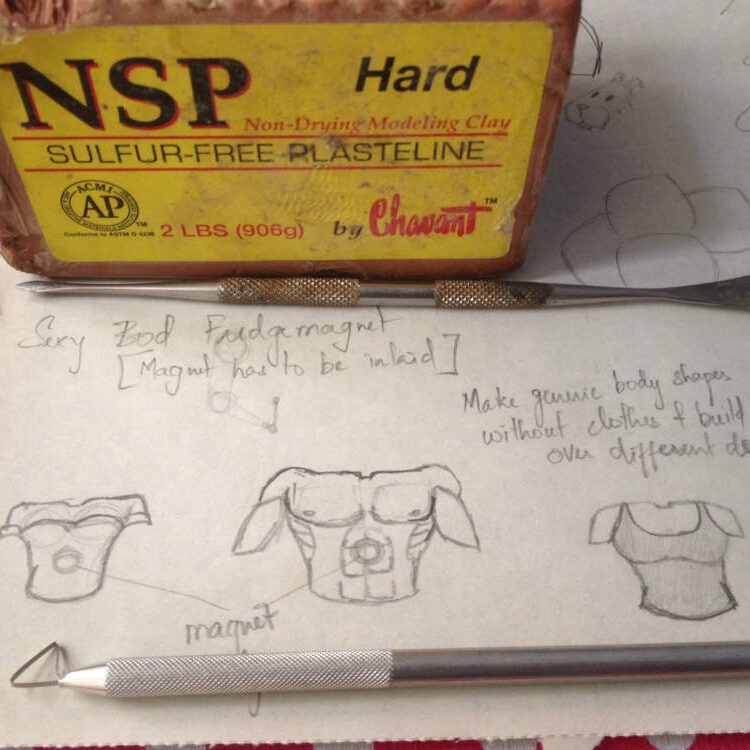
Using these I began to make some sketches of models that would look cool. That quickly hit a creative dead end. The best idea was to make just many bodies of a man and a woman. Once they were ready I could go on adding and editing the dresses.


The normal of making of body swapper fridge magnets would be to take some clay, sculpt them, harden them in some way and then paint them. If the design is just going to be a one of a kind piece I could either use some polymer clay or terracotta and sculpt it all out.
Working on a small piece with terracotta clay is painful and then the firing, molding and casting process is another thing all together. Polymer clays are easy to work with on a small scale. But they would have to be baked every and as with experimentation with all the iterations going on the costs would have gone up.
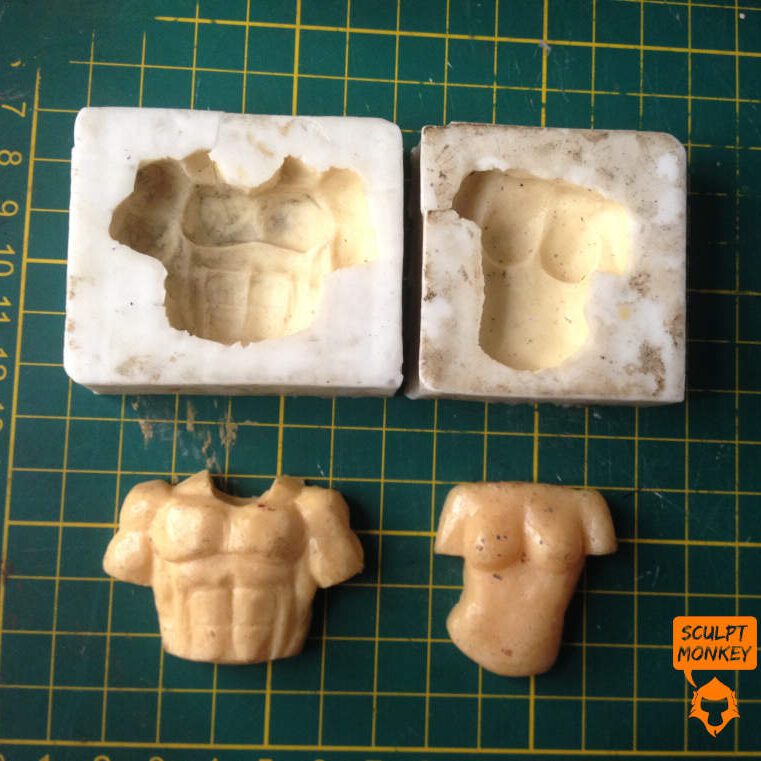
That’s why for products that require replication and editing oil based clays like Chavant NSP are pretty useful. That can hold their shape and are easy to mold and edit. I made the body templates in Chavant NSP hard clay and then made a silicone mold of the both. Now all I had to do was to pour polyresin and make as many copies that I needed!
With the templates all casted and sanded, I started adding the Chavant NSP oil based clay to add cloth volume and details. I tested out with different tops for men and women. I also tried out different jacket and t-shirt designs.

For the women, I tried out t-shirt designs, blouse tops, spaghetti tops and biker jackets. With the underlying body volumes all set out, it was easy not to dig in too much and loose the form. For the men, I tried out t-shirts, biker jacket and inner vests all on a muscular body. This wasn’t meant to look down on anybody’s body shape. It was just chosen as on that would be agreeable to most.


Once the sculpts were done I chose a few that would work and poured RTV silicone on them. Just as before, these make a very useful mold material and once doesn’t need to worry about undercuts. You could just fold back the mold to get out your cast piece without locking in your cast piece. The tests worked well. After the painting was done, which was another trial an error in terms of colour palettes it was time to fix magnets behind. That’s all there is to share about the making of body swapper fridge magnets. The only thing different in making fridge magnets is the design and colour palettes. You can check out some other projects that I have made for other customers: Indian face fridge magnet, Indian themed Hot air balloon
If you would like to learn to sculpt or have a custom sculpture made for you, then please do reach out to me! Please do share this with others or on social media. It might help someone to find me! Thank you!
Join the Newsletter!
If you haven’t, now is a good time to subscribe to the newsletter! I will be posting class schedules, some tips and tricks, gallery showings and other things that won’t be on social media! I promise not to spam! Take a look at some of the past newsletters!
